
Home Safety
Handicap Grab Bar Locations: Complete Installation Guide for Every Room
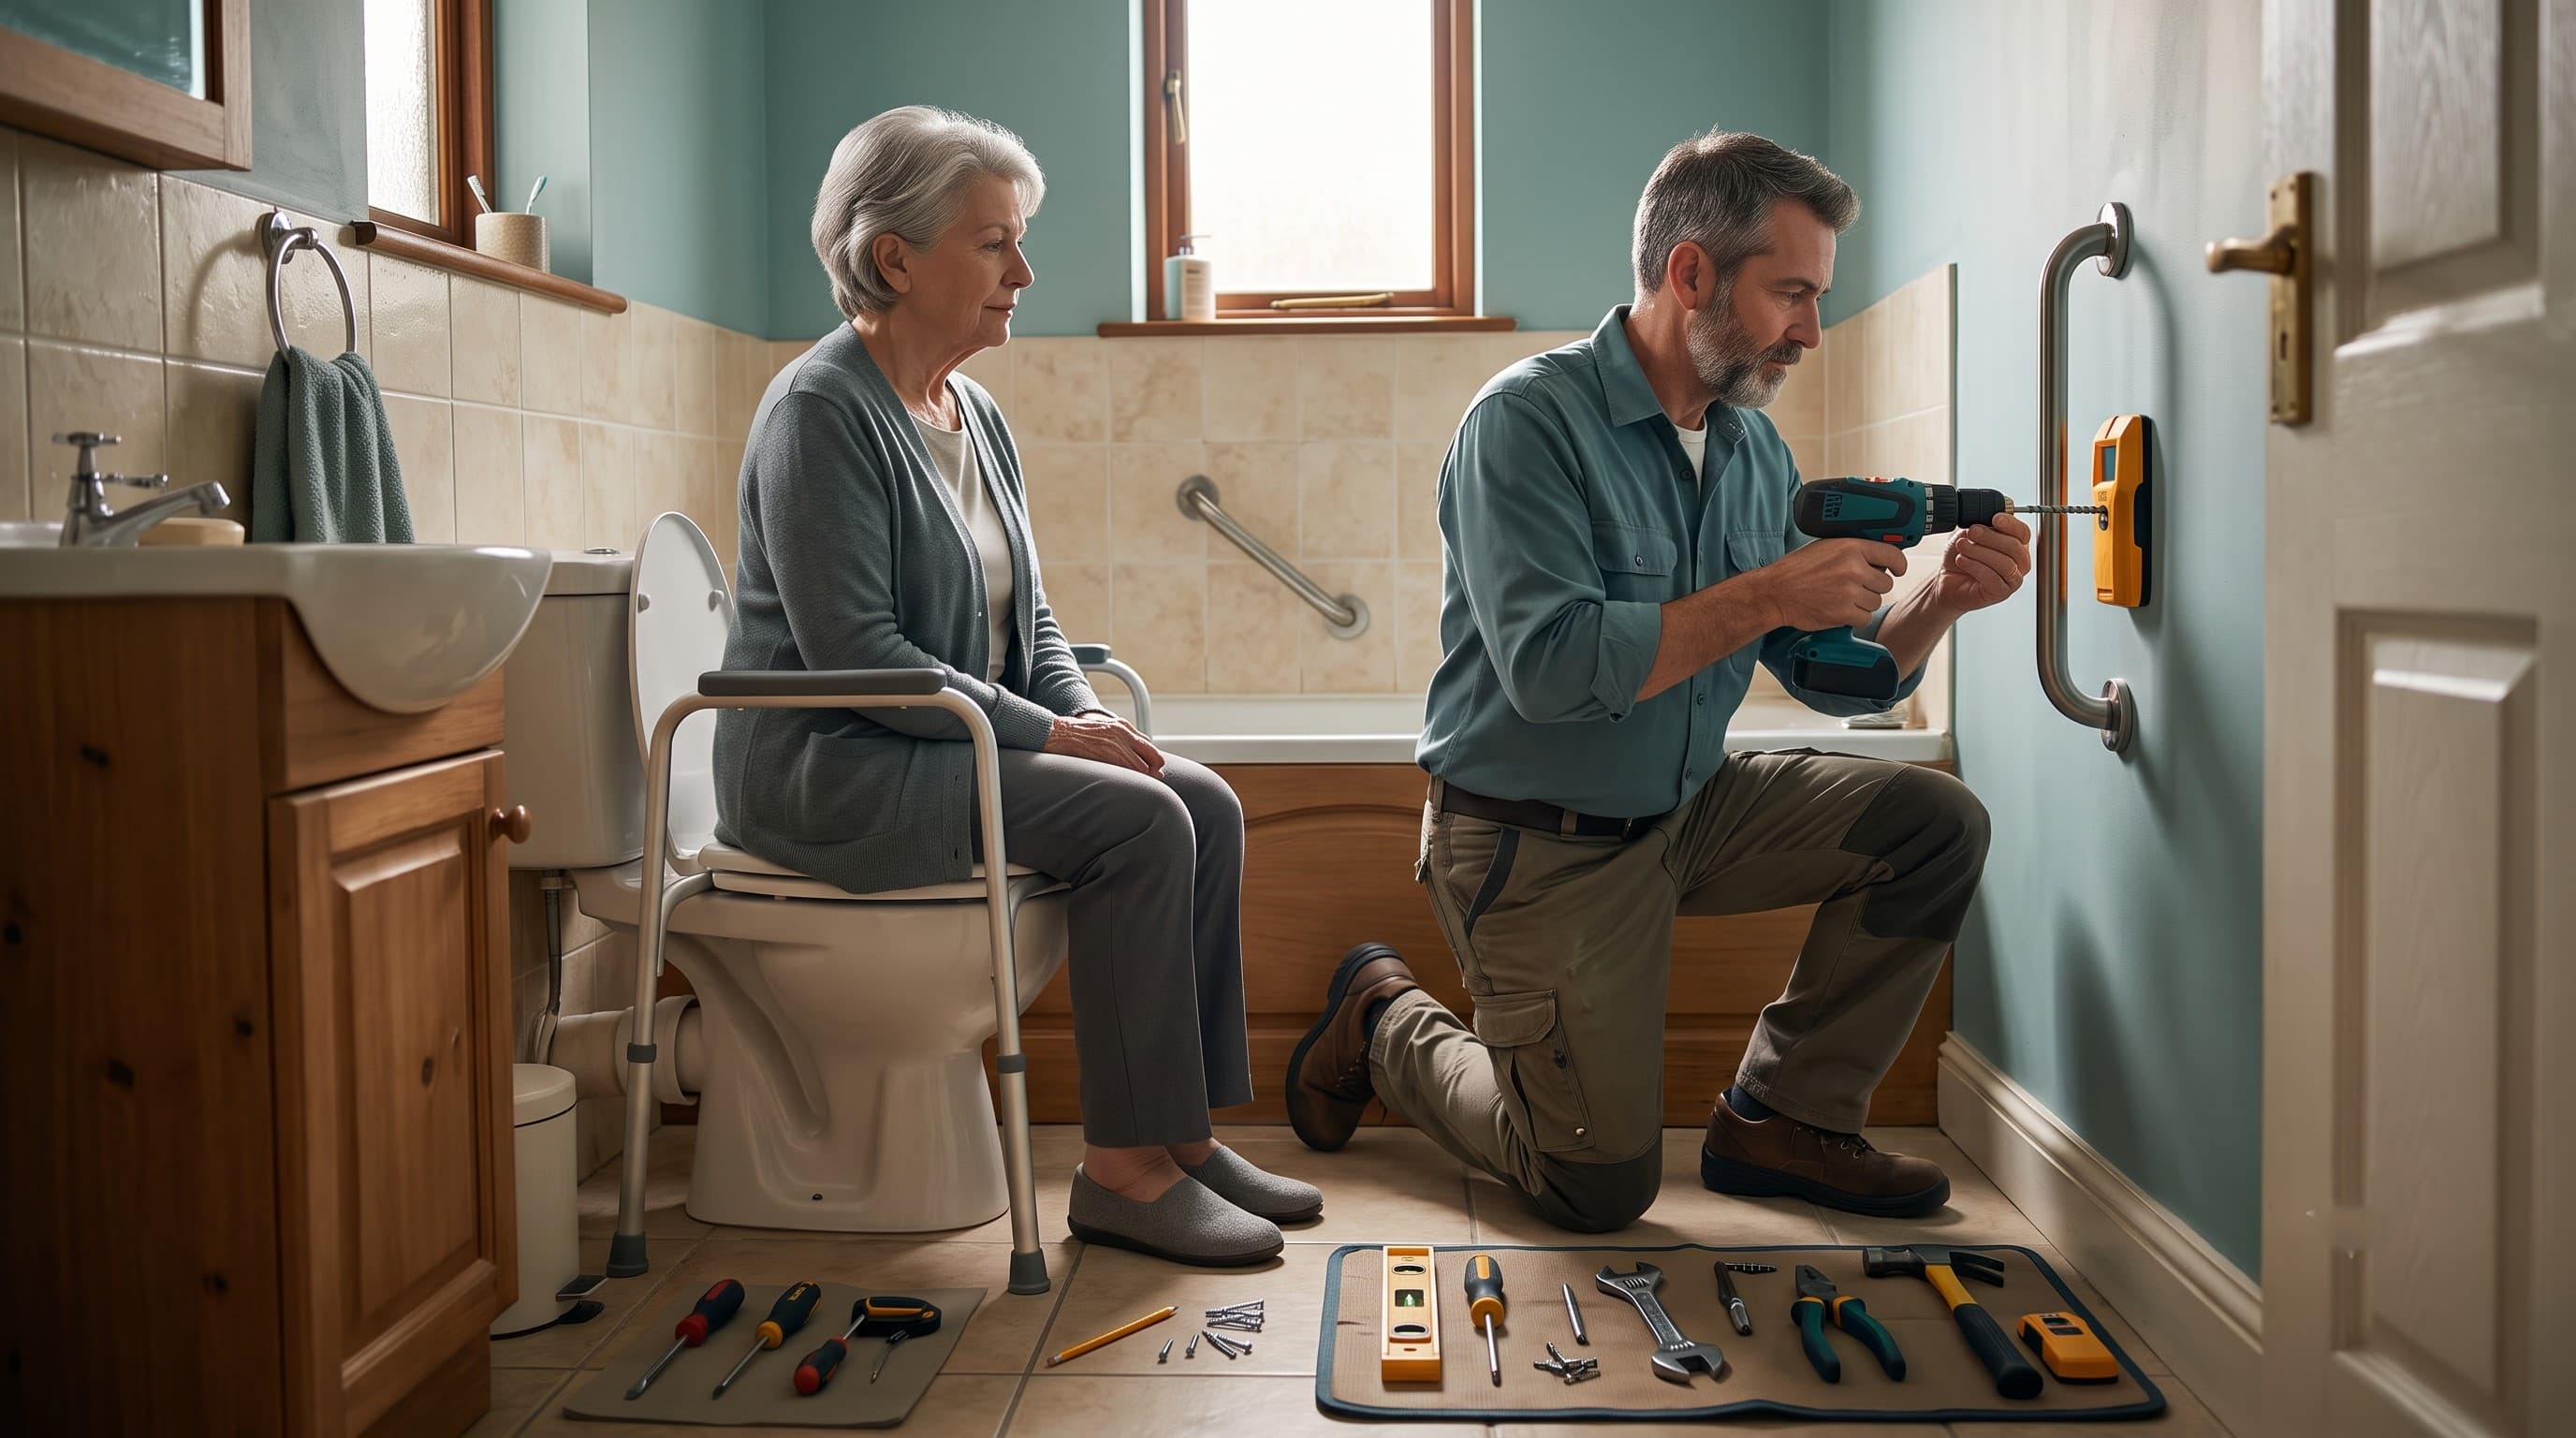
This guide explains installation heights, mounting methods, and room-by-room specs. It is written for adult children, spouses, and caregivers who want clear recommendations without sales pressure or medical jargon. If you haven't yet decided which rooms and spots need a bar, see our companion placement guide first — this article picks up once locations are chosen and covers how to mount them securely.
Some links may be affiliate links. We may earn a commission at no extra cost to you. See our affiliate disclosure.
Placement vs installation
Choosing the right spot for a grab bar and installing it correctly are two separate skills, and getting the first one right doesn't guarantee the second. A bar mounted in the perfect location but into drywall alone, with no reinforcement, can pull out of the wall under the full body weight of someone genuinely falling — which is precisely the moment it's needed most.
This guide assumes the general location has already been decided and focuses specifically on the technical side: finding secure structure, choosing the right height, and using hardware rated for real fall-force loads rather than just steady hand grip.
Height and grip basics
For most adults, a horizontal grab bar beside the toilet is typically mounted so the top of the bar sits about 33 to 36 inches above the floor — close to standard hip height — but the right number for a specific person depends on their actual height and the chair or toilet seat height they're transferring from. A quick way to check: have the person sit in their normal position and mark the height where their hand naturally rests when reaching to push up.
Bar diameter matters more than most people expect: a bar between 1.25 and 1.5 inches in diameter is generally easiest to grip firmly for adult hands, including those with arthritis or reduced grip strength — thinner decorative-style bars can be harder to close a hand around securely during a real loss-of-balance moment.
Finding studs and using proper anchors
A grab bar is only as strong as what it's anchored into. Wall studs (the vertical wood or metal framing behind drywall) provide the strongest anchor point, and a stud finder — a simple, inexpensive tool — locates them in under a minute. Whenever possible, at least two of the mounting screws on each end of the bar should land on solid stud, not just drywall alone.
When studs don't line up with the ideal bar position, heavy-duty toggle bolts or specialty wall anchors rated for the bar's expected load (check the packaging for a weight rating, ideally 250+ lbs to account for the sudden force of an actual fall, not just steady grip weight) are the safer choice over standard drywall anchors, which are rated for hanging shelves and pictures, not catching a person's full body weight.
Toilet zone installation notes
Beyond height and anchoring, toilet-area bars need to account for real clearance: the bar shouldn't interfere with reaching toilet paper, shifting clothing during a transfer, or the swing of the bathroom door. A bar mounted too close to the toilet tank can also make the final part of a sit-down or stand-up motion awkward rather than helpful.
If the toilet is against a side wall, an L-shaped or vertical-plus-horizontal combination bar often serves this zone better than a single straight bar, since it supports both the downward push while sitting and the forward pull while standing.
Shower and tub mounting challenges
Wet-area installation has its own complications: tile, fiberglass, and acrylic tub surrounds don't have exposed studs the way drywall does, and drilling into tile risks cracking if done without the right bit and a steady, low-speed approach. For fiberglass or acrylic tub/shower surrounds specifically, backing plates or specialty flanges designed for hollow or thin-wall material are usually necessary, since a standard stud-mounted approach may not be possible at all in that exact spot.
Always confirm the installed bar is fully watertight at the mounting points — water seeping behind a wet-area bar over months can rot backing material invisibly, turning a solid installation into a hidden hazard well after the original installation looked fine.
Straight, angled, or flip-up bars
Straight horizontal or vertical bars are the simplest to install and generally the strongest, since load runs directly along a single mounting line into the wall. Angled bars (mounted diagonally) can suit a specific push-and-pull motion better for some users, but they're worth testing with the actual person before committing, since an angle that feels natural to one person can feel awkward to another doing the same transfer.
Flip-up bars, which fold against the wall when not in use, are useful in shared or small bathrooms where a fixed bar would be in the way, but they rely on a working hinge mechanism that needs periodic checking — a flip-up bar that doesn't lock firmly into the down position is not offering real support, even though it looks installed correctly.
Inspection after installation
A newly installed bar should be tested with real, deliberate downward and outward force — not just a light tug — before relying on it, ideally by someone other than the person who installed it, to catch installation mistakes with fresh eyes. Any wobble, slight give, or creaking sound at the wall means the anchoring needs to be redone before the bar sees regular use.
From there, a quick re-check every few months (a firm push, checking for any new movement) catches problems like loosened anchors or, in wet areas, any hidden water damage before it becomes a real failure during an actual fall.
Key takeaways
- Placement and installation are separate steps — a bar in the right spot still needs to be anchored correctly to actually hold during a fall.
- Use a stud finder and anchor into solid framing wherever possible; when studs don't align, use heavy-duty anchors rated for real fall-force weight, not standard drywall anchors.
- Match bar height to the specific person's actual seated or standing reach, not just a generic "33 inches" rule of thumb.
- Test any newly installed bar with real force before trusting it, and recheck periodically, especially in wet areas where hidden water damage can weaken anchoring over time.
Next steps for caregivers
If there's any uncertainty about wall structure, wet-area mounting, or the right hardware for a specific bathroom, a licensed handyman or contractor experienced in grab-bar installation is a reasonable and inexpensive investment — the cost of a professional install is small compared to the risk of a bar that looks secure but isn't.
Frequently asked questions
Who should read this guide about handicap grab bar locations: complete installation guide for every room?
Is this a substitute for medical advice?
How soon should we make changes after a fall or near-fall?
Related guides
Home Safety
Where to Place Grab Bars: Complete Room-by-Room Guide for Seniors
Learn where to place grab bars in every room, around the toilet, in the shower, by stairs, and in hallways, to prevent falls and keep seniors safe at home.
Home Safety
Bathroom Safety Products for Seniors: Complete List
Discover the complete list of bathroom safety products for seniors including grab bars, shower chairs, raised toilet seats, non-slip mats, and more. Keep seniors safe at home.
Home Safety
How to Make a Bathroom Safety for Seniors
Learn simple ways to improve bathroom safety for seniors and reduce the risk of slips and falls at home.
Home Safety
Bedroom Safety for Seniors: Complete Guide to Preventing Nighttime Falls
Complete bedroom safety guide for seniors covering bed height, bed rails, night lighting, flooring, furniture placement, and emergency access to prevent nighttime falls.