
Home Safety
Where to Place Grab Bars: Complete Room-by-Room Guide for Seniors
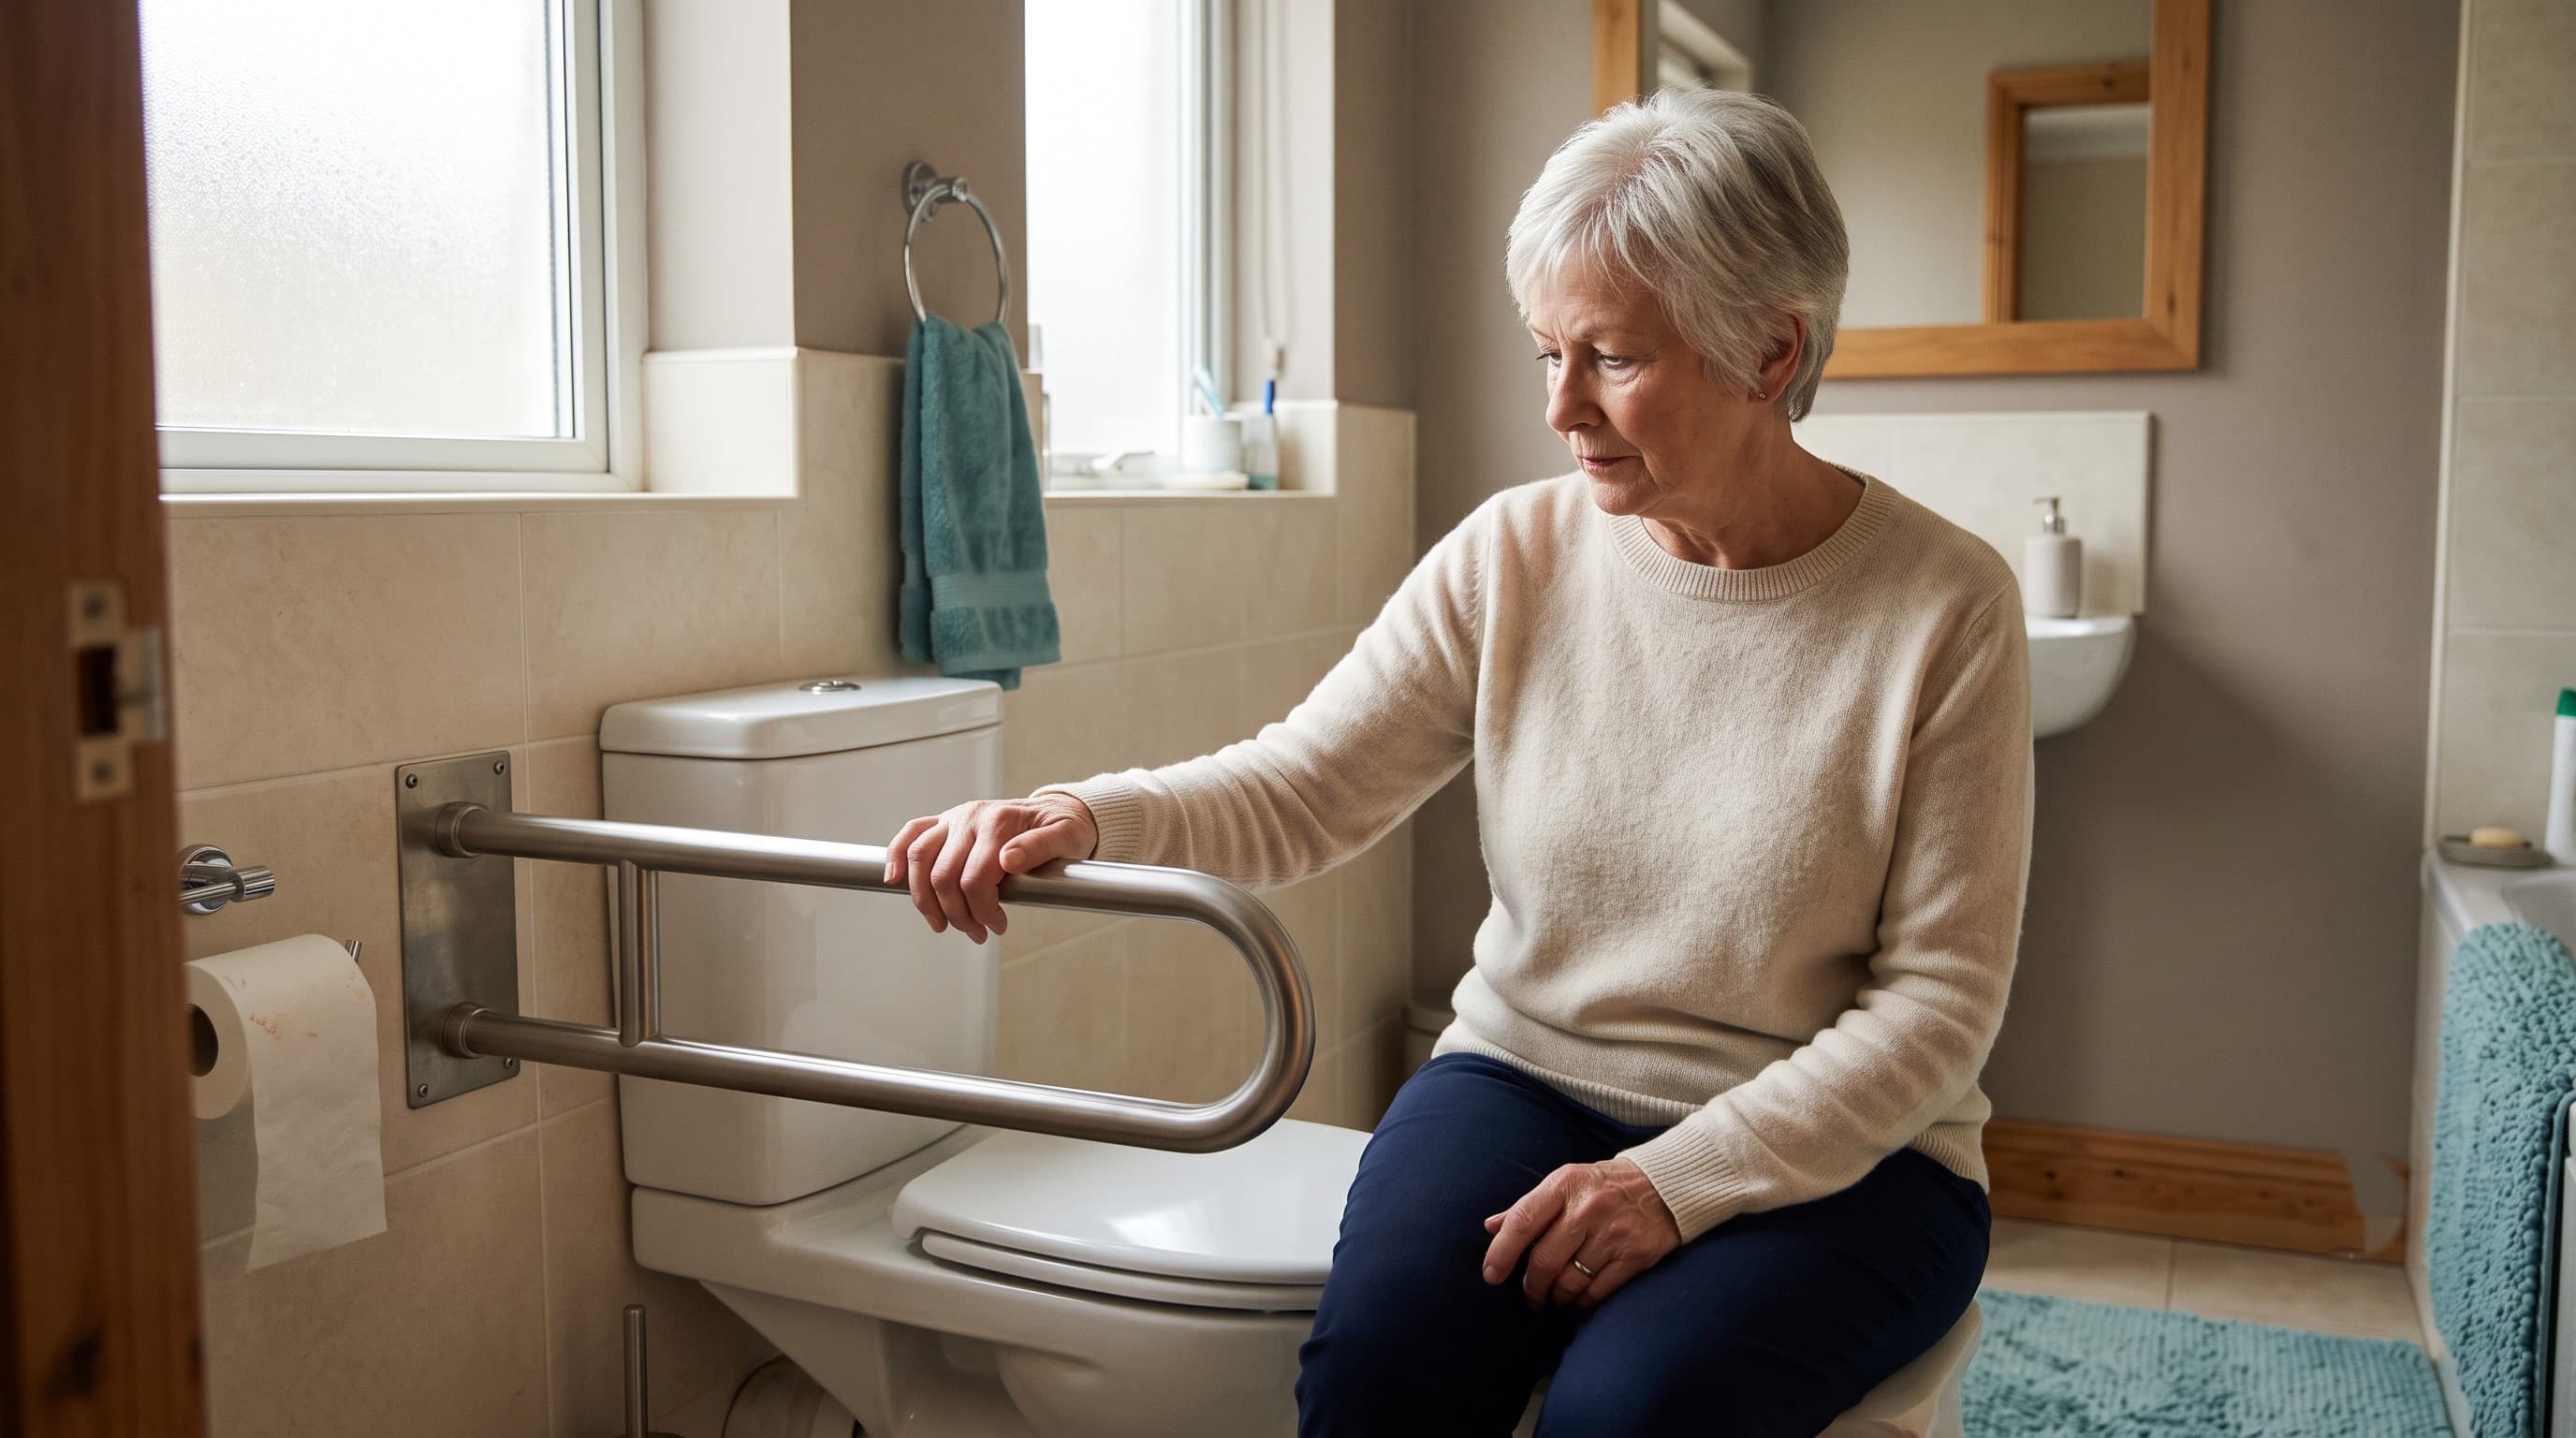
This guide explains where to place grab bars room by room for real transfer patterns. It is written for adult children, spouses, and caregivers who want clear recommendations without sales pressure or medical jargon. For exact mounting heights, stud-finding, and hardware, see our companion installation guide — this article focuses on which room and which spot, not the technical mounting details.
Some links may be affiliate links. We may earn a commission at no extra cost to you. See our affiliate disclosure.
Placement starts with the transfer
The right location for a grab bar isn't a fixed diagram — it's wherever the person's hand naturally reaches during a specific movement, like standing up from the toilet or stepping over a tub wall. Watching the actual transfer, rather than guessing from a generic bathroom layout, is the single most useful thing a caregiver can do before buying anything.
Pay attention to which hand leads, whether the person pushes down (needing a horizontal bar at seat height) or pulls themselves up and forward (needing a more vertical or angled bar), and whether they lean toward a wall that may not currently have any support at all.
Toilet-area placement
The most common and highest-value placement is a bar mounted on the wall beside the toilet, positioned so the stronger arm can push down and slightly forward while standing up. If there's a wall on only one side (common in smaller bathrooms), a floor-mounted or toilet-frame-attached bar can substitute for the missing second side.
A second bar directly behind the toilet, mounted horizontally at a height just above the tank, helps with the final push into a standing position and gives a second point of contact if the side bar isn't quite enough on its own.
Shower and tub placement
A shower or tub typically needs support at three separate moments: entering (stepping over the tub wall or through the shower door), standing while washing, and exiting. These are rarely served well by a single bar — most bathrooms benefit from one vertical bar near the entry point to steady the step-over, and one horizontal bar along the back or side wall at hip height for standing support.
For a walk-in shower with a low or no threshold, the entry bar matters less, but a horizontal bar for standing balance while washing remains just as important, since standing on a wet surface with eyes closed (rinsing shampoo, for example) is a common moment of instability.
Hallways, stairs, and bedroom edges
Falls don't only happen in the bathroom, and a hallway or bedroom without any support can be just as risky on the walk to the bathroom, especially at night. A continuous handrail along a hallway used regularly, or a bar mounted beside the bed at a height that assists sitting up and standing, extends the same support logic outside the bathroom.
Stairs deserve their own attention: a secure handrail on at least one side (ideally both, for a steeper staircase) should run the full length of the stairs, not stop partway, since the top and bottom steps are actually where most stair falls occur.
Contrast and reach
A grab bar that blends into the wall color can be genuinely harder to locate quickly, especially for someone with reduced contrast sensitivity, which is common with age-related vision changes. Choosing a bar color that visibly contrasts with the wall — even a small difference, not necessarily a bold color — makes it easier to find by sight, not just by memory or feel.
Reach matters just as much as visibility: a bar mounted too high or too far from the actual seated or standing position forces a twist or lean to grab it, which can itself cause the very loss of balance the bar was meant to prevent. Testing the reach with the person standing or seated in their normal position — not just eyeballing it from across the room — catches this before installation.
Which side of the toilet gets the bar
When only one side of the toilet has usable wall space, the bar should go on whichever side matches the person's stronger arm and leg — the side they naturally lean toward or push off of when standing from a regular chair. Watching a normal chair transfer for a minute or two, before ever looking at the bathroom layout, usually answers this more reliably than guessing based on handedness alone, since a person's dominant hand for writing isn't always their stronger side for pushing up from a seated position, especially after a stroke or a hip or knee issue that affects one side more than the other.
If the home's plumbing and wall layout don't allow a bar on the stronger side, a floor-mounted support rail that wraps around the front of the toilet is a reasonable alternative, since it provides a push-up point that isn't tied to a specific wall.
Coordinate with installation guidance
Once the rooms and general zones are chosen, the actual mounting — finding secure wall structure, choosing the right height for this specific person, and using hardware rated for real body weight during a fall (not just steady grip) — is a distinct step. Our companion guide, Handicap Grab Bar Locations: Complete Installation Guide, covers those technical specifics in detail.
Key takeaways
- Watch the actual transfer (sitting, standing, stepping over a tub wall) before choosing a bar location — don't rely on a generic diagram alone.
- Toilet and shower/tub areas are the highest-value placements, but hallways, bedrooms, and stairs matter too, especially for nighttime falls.
- Choose a bar color that contrasts with the wall so it's easy to spot quickly, not just easy to feel for.
- Test reach with the person in their actual seated or standing position, since a bar that's technically "there" but awkward to reach can create its own balance risk.
Next steps for caregivers
Spend a few minutes watching (or having the person walk you through) each relevant transfer — toilet, shower, bed, and stairs — before buying any bars. That fifteen-minute observation typically prevents the single most common and costly mistake in this category: installing a bar in a technically-correct generic spot that doesn't actually match how this specific person moves.
Frequently asked questions
Who should read this guide about where to place grab bars: complete room-by-room guide for seniors?
Is this a substitute for medical advice?
How soon should we make changes after a fall or near-fall?
Related guides
Home Safety
Handicap Grab Bar Locations: Complete Installation Guide for Every Room
Discover the correct handicap grab bar locations for every room including bathroom, toilet, shower, bedroom, and stairs. Complete guide with exact heights and installation tips.
Home Safety
Bathroom Safety Products for Seniors: Complete List
Discover the complete list of bathroom safety products for seniors including grab bars, shower chairs, raised toilet seats, non-slip mats, and more. Keep seniors safe at home.
Home Safety
How to Make a Bathroom Safety for Seniors
Learn simple ways to improve bathroom safety for seniors and reduce the risk of slips and falls at home.
Home Safety
Bedroom Safety for Seniors: Complete Guide to Preventing Nighttime Falls
Complete bedroom safety guide for seniors covering bed height, bed rails, night lighting, flooring, furniture placement, and emergency access to prevent nighttime falls.